
Greetings!
In situations where Starlink equipment is used not by one person, but by several — for example, shared within a unit, within a family, or among colleagues — the question of convenient and secure device management arises.
For such cases, Starlink provides the ability to add additional users . This allows multiple people to have official access to control a single device through their own accounts — with the appropriate level of rights and without the need to transfer the primary user's data.
A maximum of 3 users can be added to a Starlink account: 1 primary (administrator) and 2 additional users. And roles can be defined for each of them. What options does Starlink provide us with:
- Administrator : Has full access to all account features, including managing other users and their roles.
- Maintenance . Provides full access to technical functions — for example, rebooting equipment, changing network settings, managing service lines, adding or removing devices, changing the tariff plan.
- Maintenance (view only) - Limited to viewing the dashboard and technical parameters without the ability to make changes.
- Billing . This role allows you to manage payment information: change details, view invoices and balances, make payments, and place orders in the Starlink store.
- Financial calculations (view only) - Provides the option to view account and purchase information, but without the ability to edit or pay.
- User Management : Allows you to add new users, delete existing ones, and change roles.
- User Management (View Only) - Limited to viewing a list of users and their assigned roles.
Below are step- by-step instructions for adding users to your Starlink account:
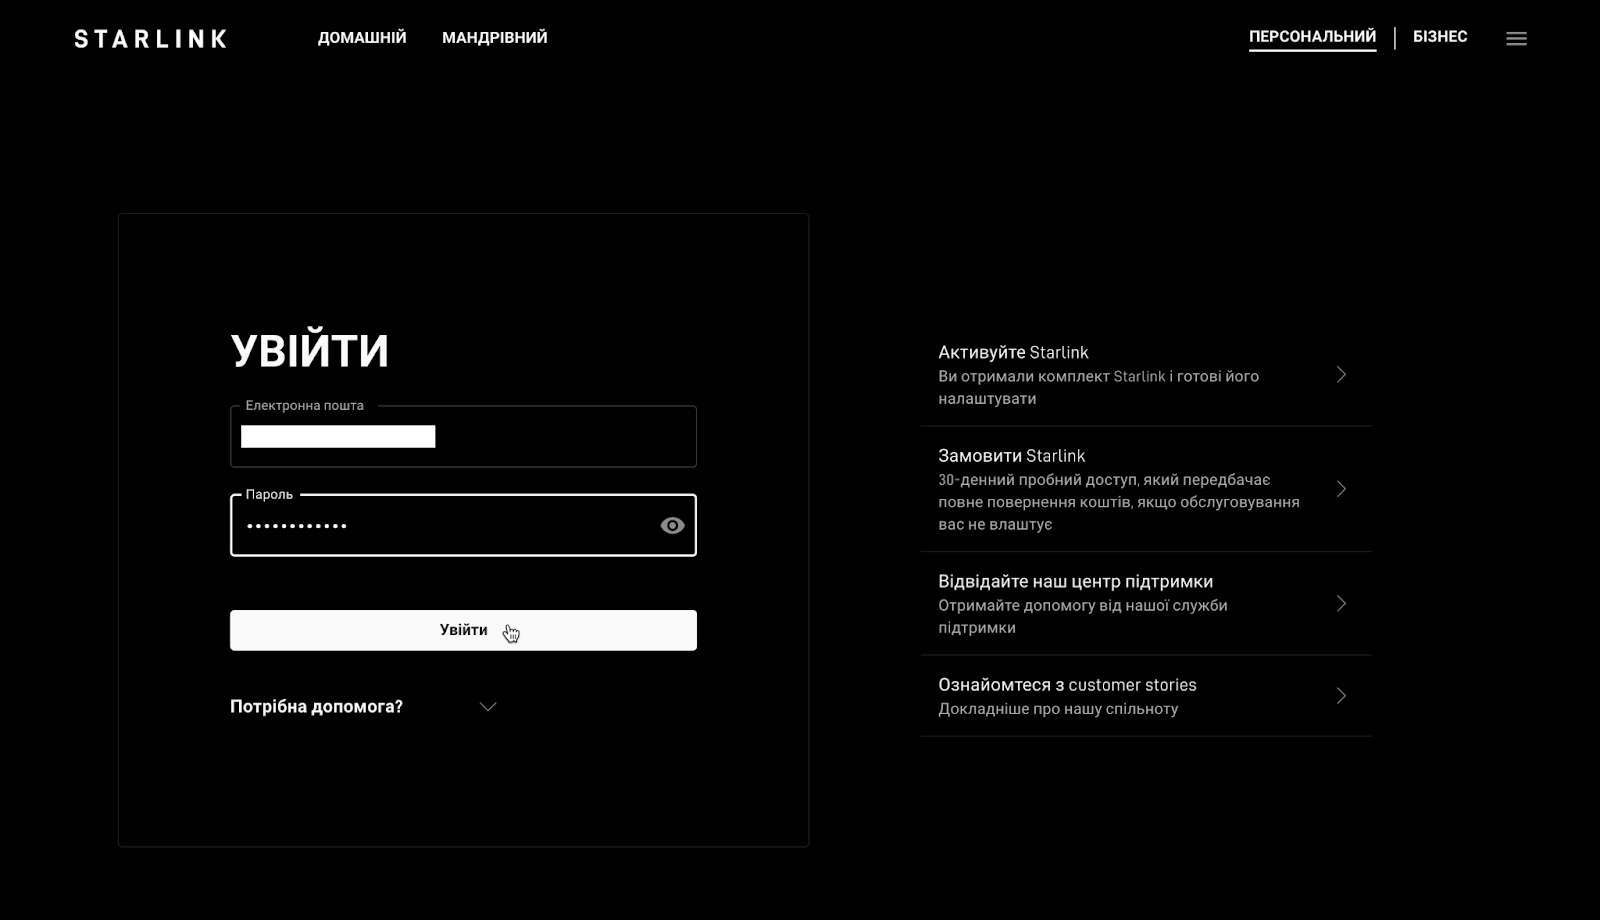
1. Go to the website starlink.com and log in to your personal account.
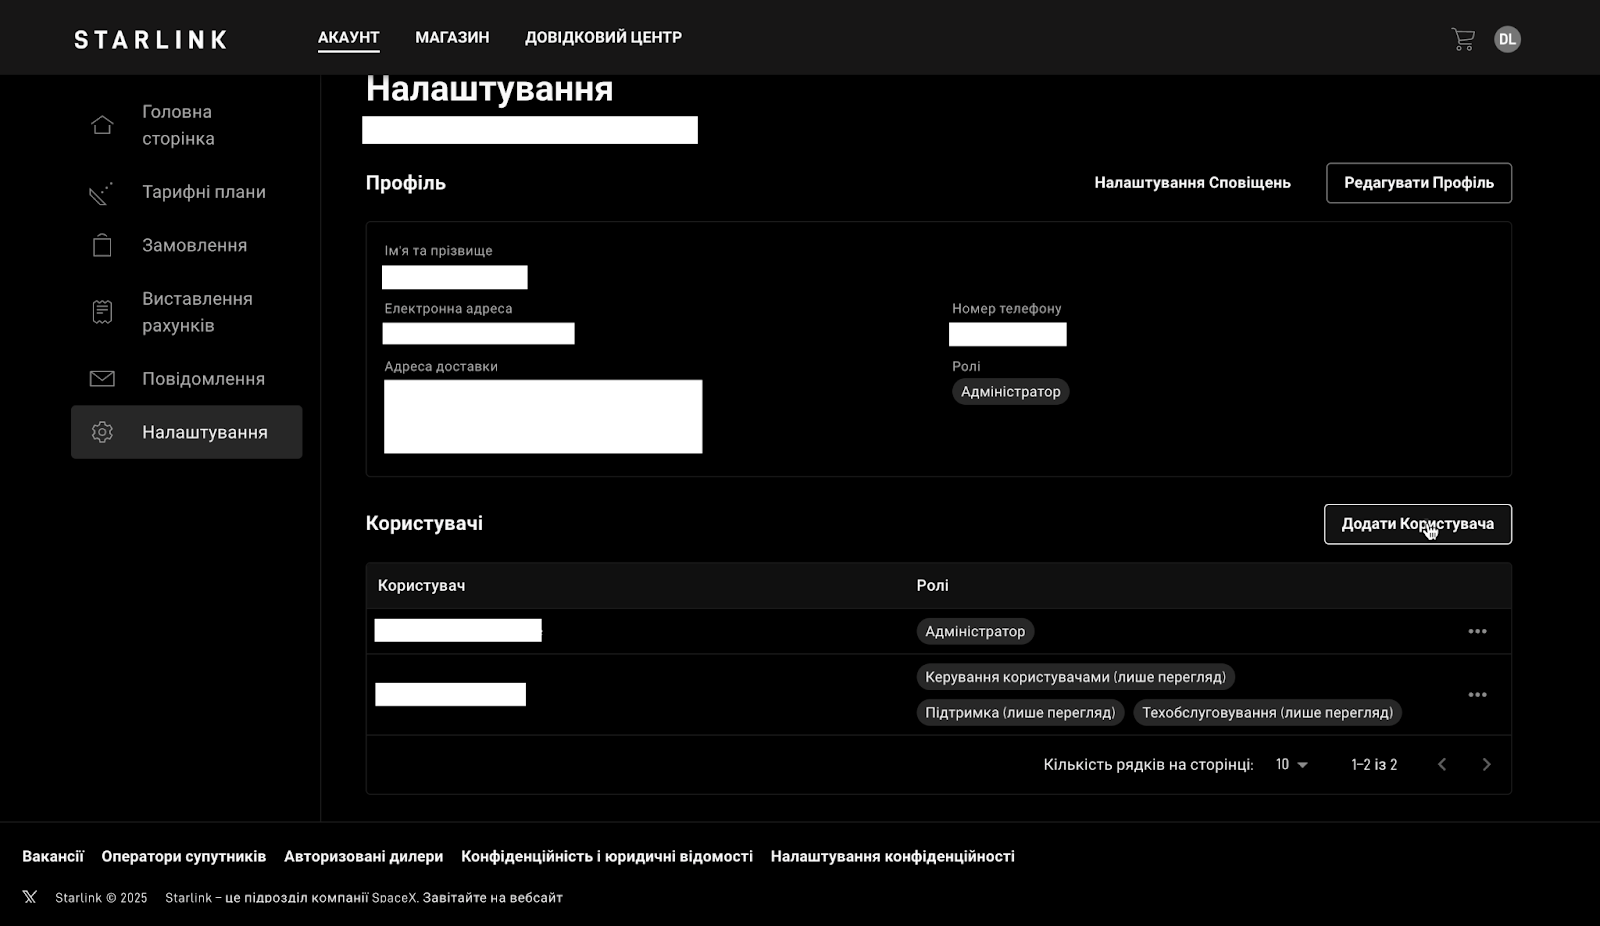
2. From the main page, go to the "Settings" section. At the top is your profile information. Below is a list of users. Click "Add user" .
3. Fill in all the necessary data about the new user:
- First and last name;
- E-mail;
- Phone number;
- We assign roles to him (based on needs).
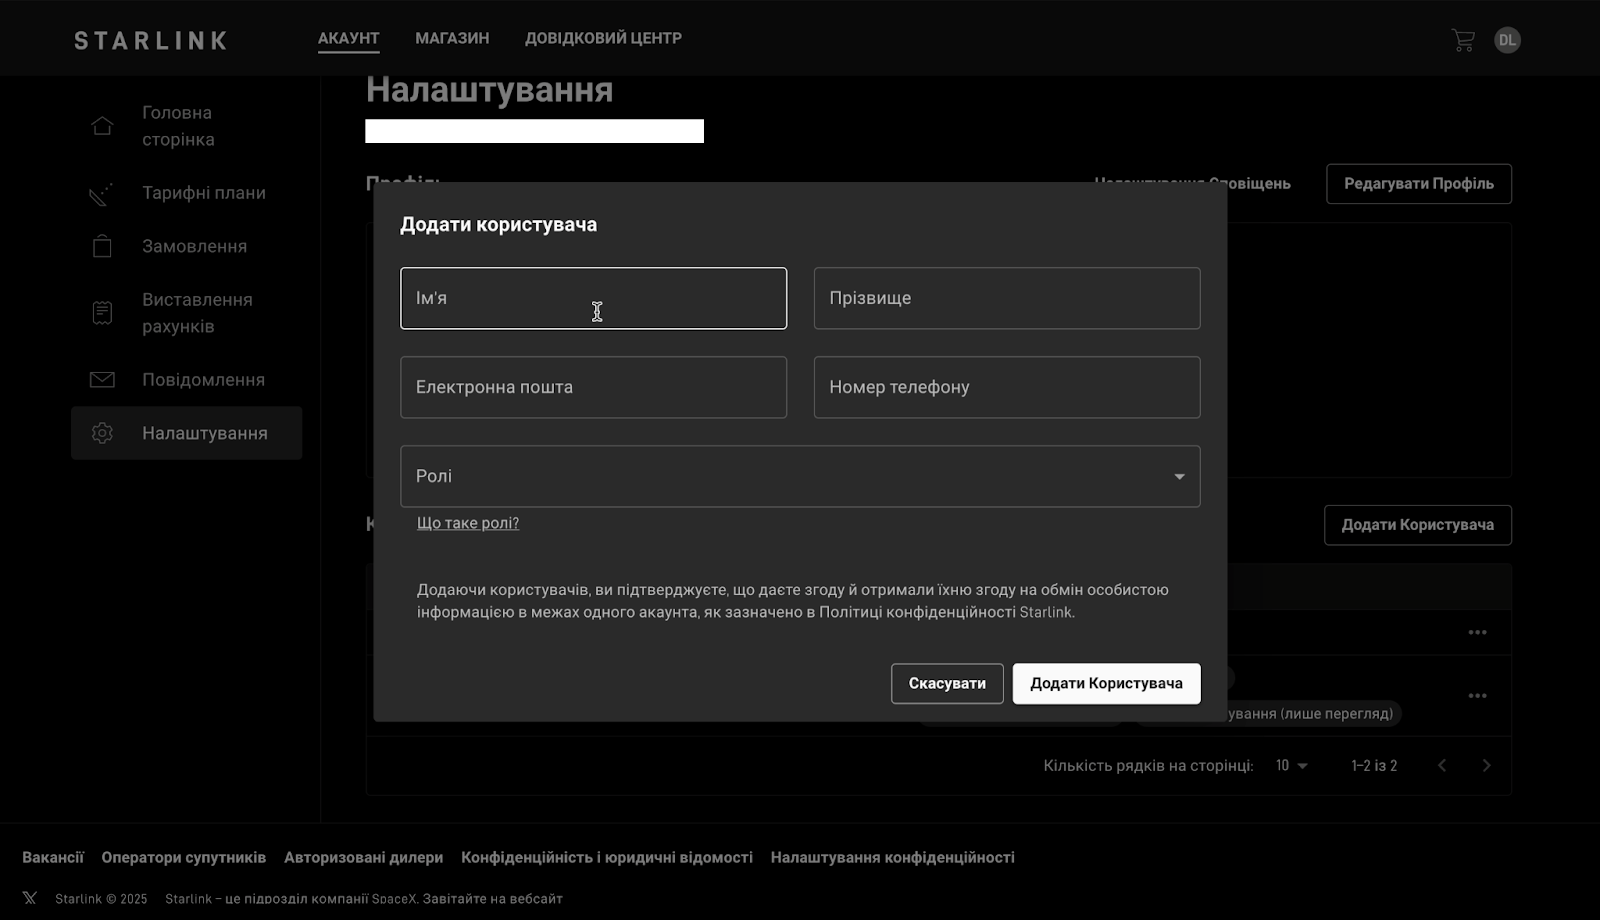

4. Click "Add user" . An email with a link to set the password for the user's account will be sent to the email address you entered.
Done! A new user has now been added to your account.
If you have any questions or are not sure if you did everything correctly, contact Adaptis - we are always here to help.


