
⚠️ No more than three! The SpaceX account management system allows you to add no more than three Starlink kits to your account. With rare exceptions, you can connect 5 kits (which is most likely a technical failure in the system). Until December 2023, the limit was 10 terminals per account.
Where to start
Typically, the setup process takes no more than 5 minutes.
Carefully check that you have everything you need before starting setup:
- Backup Internet connection (mobile Internet, wifi)
- Email and Password of existing account
- Bank card with sufficient balance to withdraw funds
- Sufficient internet limit to debit the payment ($95)
- “Starlink” application from AppStore or Google Play


⚠️ Gentle Ukrainization from SpaceX:
Change the interface language to Ukrainian in your mobile phone settings and the Starlink application will also switch to Ukrainian.
Step-by-step instructions
- Plug your Starlink into a power outlet. Turn it on.
- Join the wifi network, depending on the settings.
- Log in to the App and wait for the terminal to connect to the satellites. Sometimes, the first turn-on takes 15 minutes (A little patience – it knocks in space and waits for a response).
- You will see a message stating that you do not have an account:
NO ACTIVE ACCOUNT

- Click on this message.
- In the window that appears, copy the data specified in the following format: “00000000-123ADPTS-B1C2D000”.
- Save the copied data.
- Disconnect from the WiFi network.
- Follow the link https://www.starlink.com/activate
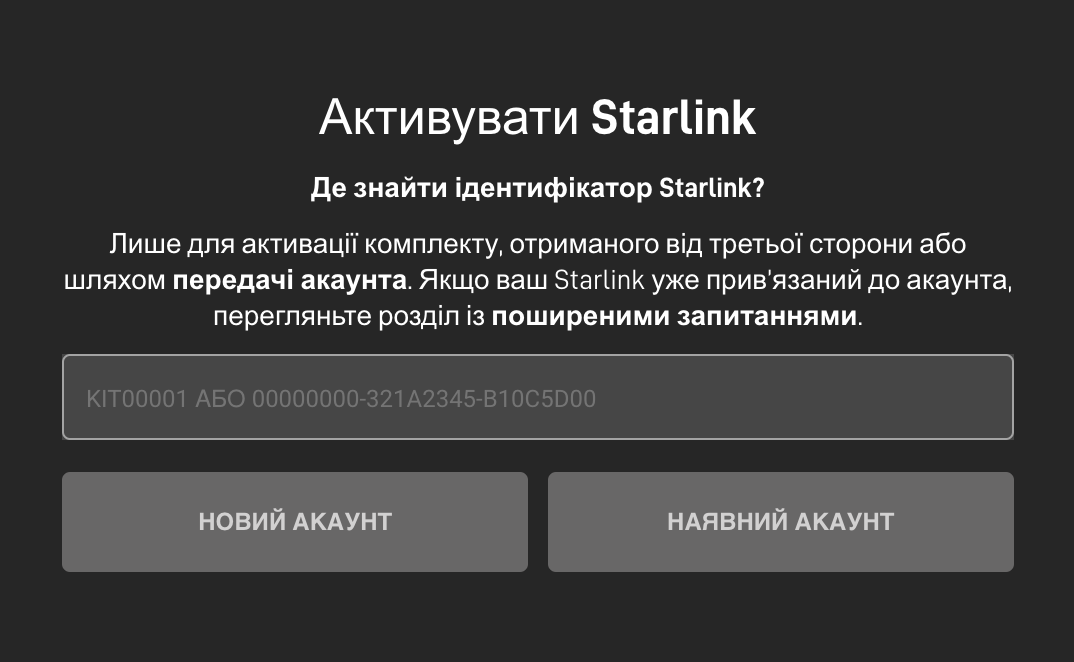
- In the field you see, paste the copied data.
- Click “EXISTING ACCOUNT”
- The system will prompt you to enter the username and password for your existing account.

- In the next step, “Select “Service”, indicate the city of your permanent residence, select the correct option from the drop-down list. Click the “Search” button

As a result of the search, you will see available Tariff plans for the selected region – Select “Roaming”.
⚠️ “Traveling” tariff.
If you plan to use the equipment in a car, or change its location, then the “Home” / “Residential” tariff will not suit you. Therefore, choose the “Traveling” tariff / “Roam”.
- Click the “Continue checkout” button
- Enter your payment card details (* This step does not always occur)
- Enter your First and Last Name in Latin characters, just as indicated above. This is important!
- Your zip code.
- Card validity period
- CVV code
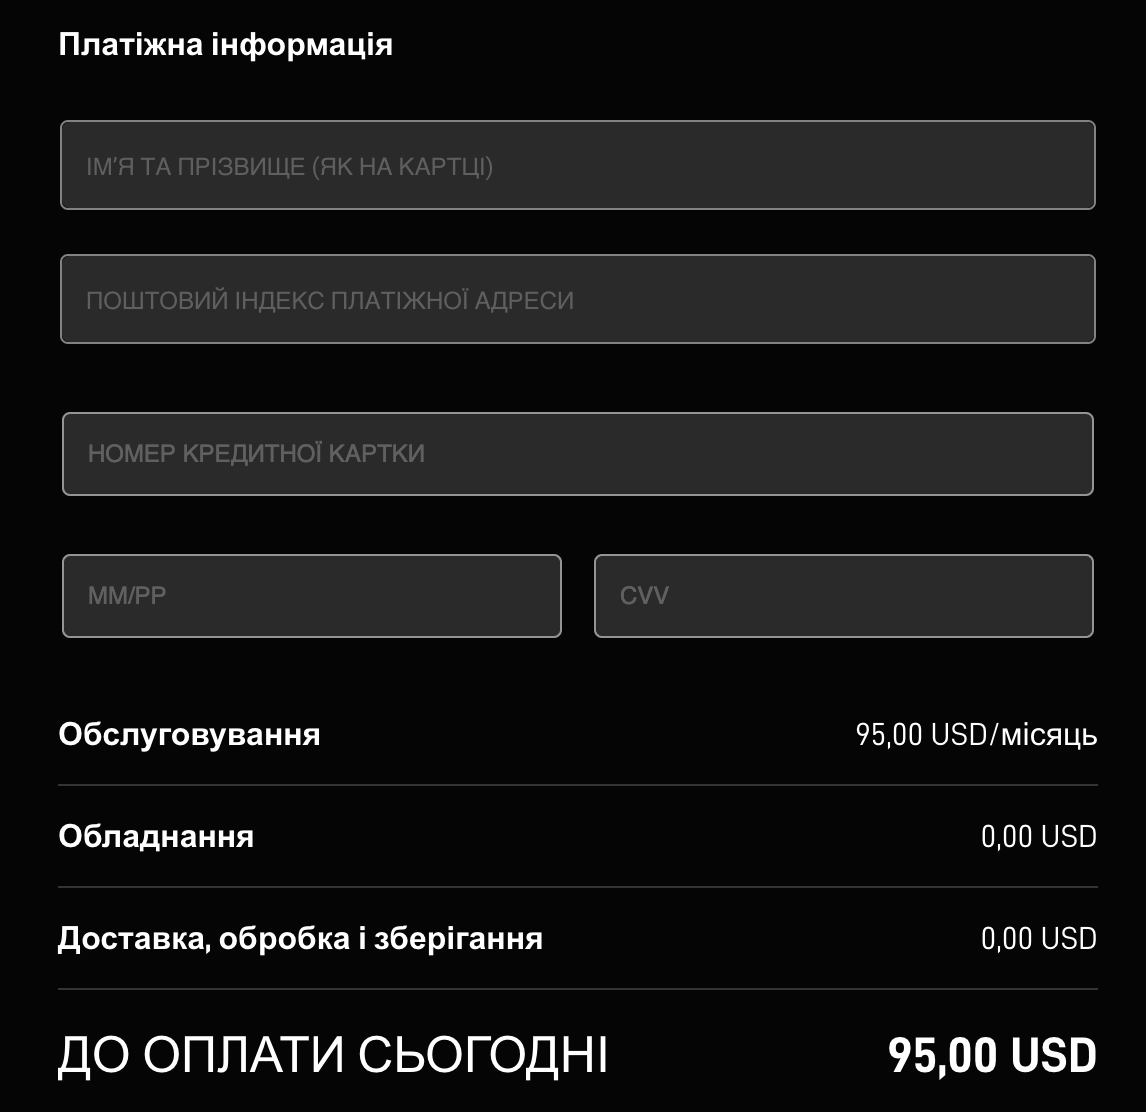
- After clicking the “Place Order” button, the system will automatically attempt to debit your card. Confirm the payment.
⚠️ Two-factor security
Banking institutions in Ukraine will usually send you a message for additional payment confirmation. This can be an SMS or a form in the application with a “Confirm” button.
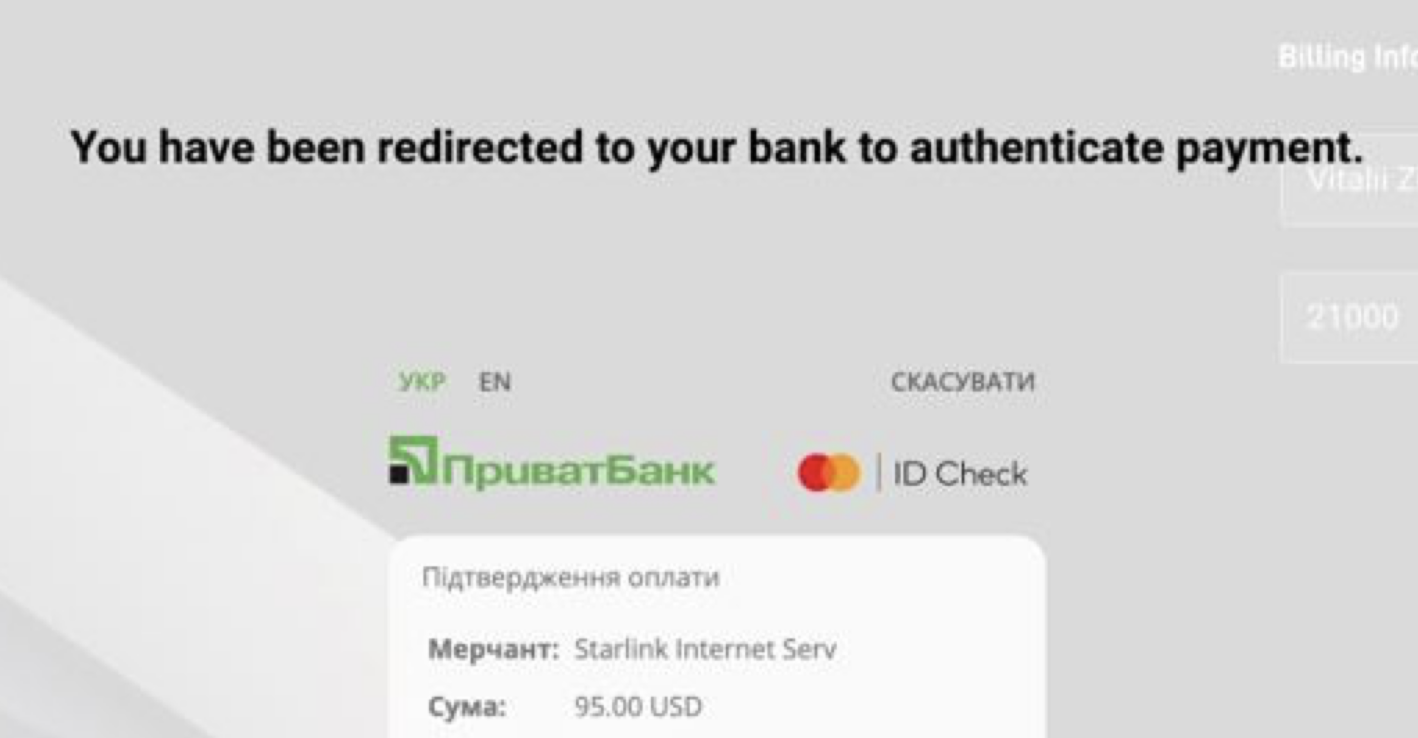
The request will definitely state that you are trying to debit 95 USD.
- Tip: Send access passwords to a trusted person, and write a contact phone number on the equipment.
- Turn on your Starlink terminal and wait about 15 minutes.
- If you have done all the steps correctly, the terminal will go into ONLINE mode!
Frequently asked questions and their solutions
- Device already assigned.
It seems that you were given a terminal that is already linked to an account. Contact the seller of your Starlink terminal. You may be given a login and password to access.
A similar situation is also possible due to security measures taken by SpaceX to reduce the number of fraudulent activities.
- How many Starlink terminals can be added to one account?
Company rules allow adding no more than Three units to one account (Previous limit was set at 10 units).
- Why is it better to register by the full serial number rather than the KIT number?
There is a small chance of equipment confusion, which occurs once in a few thousand terminals. This happens both on the manufacturer's side and on the side of the delivery and order processing companies.
Leave a comment
This site is protected by hCaptcha and the hCaptcha Privacy Policy and Terms of Service apply.